
Canning venison is a fantastic way to preserve the rich, gamey flavor of this lean meat while ensuring you have a ready-to-eat protein source on hand. This method not only extends the shelf life of your venison but also locks in its natural juices and flavors, making it a convenient and delicious option for future meals.
Venison is not a common ingredient in every household, so you may need to visit a specialty butcher or a store that sells game meat to find it. Make sure the venison is fresh and cut into cubes for easy packing into the jars. The other ingredients, such as salt, ground black pepper, and water, are typically found in most kitchens.
Ingredients For Canned Venison Recipe
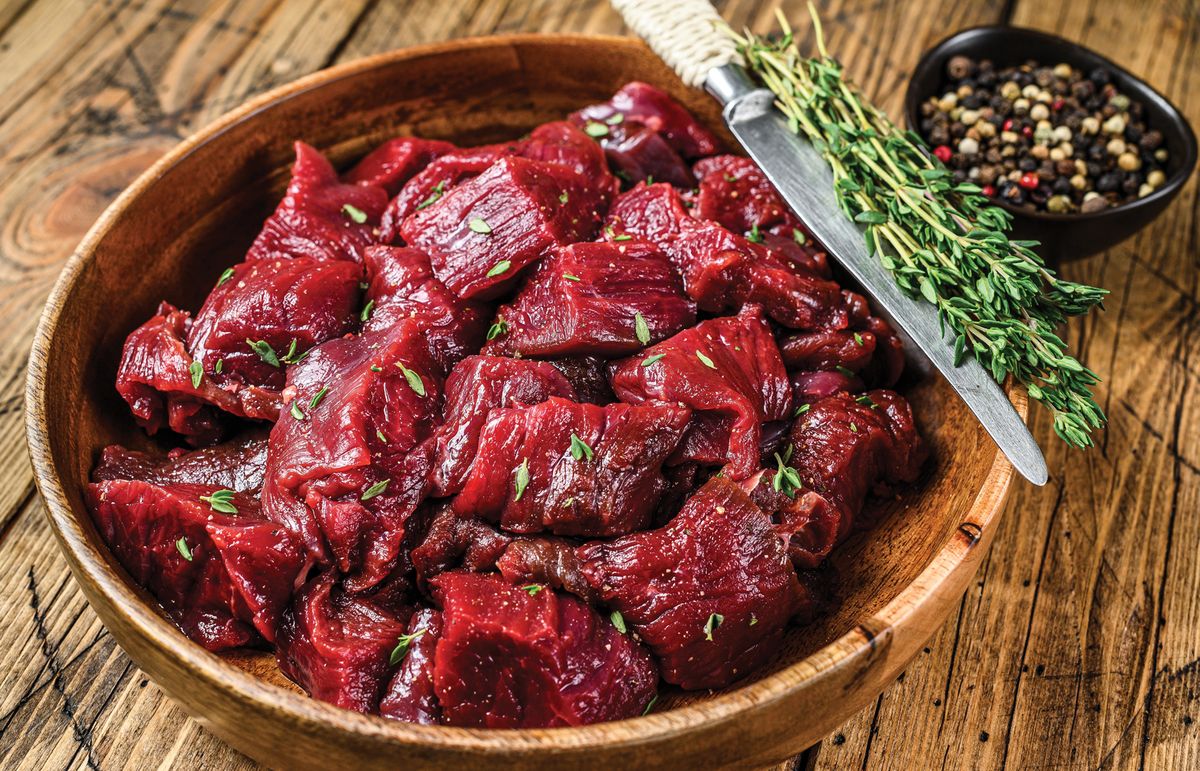
Venison: This is the main ingredient, providing a rich, gamey flavor. Ensure it is cut into cubes for easy packing.
Salt: Used to enhance the natural flavors of the venison and for preservation.
Ground black pepper: Adds a subtle heat and depth of flavor to the meat.
Water: Used to create a brine that helps in the canning process and keeps the meat moist.
Technique Tip for Canning Venison
When packing the venison cubes into the jars, make sure to pack them tightly but not too densely. This ensures that the meat cooks evenly during the canning process. Additionally, when pouring the boiling water over the meat, do it slowly to avoid creating air pockets, which can affect the seal and preservation quality.
Suggested Side Dishes
Alternative Ingredients
venison - Substitute with beef: Beef has a similar texture and flavor profile, making it a good alternative for venison in stews and canned recipes.
venison - Substitute with lamb: Lamb offers a rich, gamey flavor that can mimic the taste of venison, especially in slow-cooked dishes.
salt - Substitute with soy sauce: Soy sauce can add a salty and umami flavor, enhancing the overall taste of the dish.
ground black pepper - Substitute with white pepper: White pepper provides a similar heat and flavor but with a slightly different aroma, suitable for those who prefer a milder taste.
water - Substitute with beef broth: Beef broth adds depth and richness to the dish, enhancing the overall flavor compared to plain water.
water - Substitute with vegetable broth: Vegetable broth can be used for a lighter, yet flavorful alternative, suitable for those looking for a vegetarian option.
Alternative Recipes Similar to Canned Venison
How to Store or Freeze Your Canned Venison
- Ensure the jars are properly sealed before storing. Press down on the center of each lid; it should not pop back up. This indicates a good seal.
- Store the sealed jars in a cool, dark place such as a pantry or cellar. The ideal temperature range is between 50-70°F (10-21°C).
- Keep the jars away from direct sunlight and heat sources to maintain the quality of the venison.
- Label each jar with the date of canning. This helps you keep track of freshness and ensures you use the oldest jars first.
- For optimal flavor and texture, consume the canned venison within one year. However, properly canned venison can last up to 2-3 years if stored correctly.
- If you notice any signs of spoilage, such as bulging lids, leaks, or off smells, discard the jar immediately. Safety first!
- If you prefer to freeze the venison instead of canning, place the meat in airtight freezer bags or containers. Remove as much air as possible to prevent freezer burn.
- Label the freezer bags with the date and contents. This helps you manage your inventory and ensures you use the oldest meat first.
- Store the venison in the coldest part of your freezer, ideally at 0°F (-18°C) or lower. This preserves the meat's quality and prevents bacterial growth.
- For best results, use frozen venison within 6-12 months. While it can be safe to eat beyond this period, the quality may diminish over time.
- Thaw frozen venison in the refrigerator overnight or use the defrost setting on your microwave. Avoid thawing at room temperature to prevent bacterial growth.
- Once thawed, cook the venison promptly. Do not refreeze thawed meat as this can affect texture and flavor.
How to Reheat Leftovers
Stovetop Method:
- Pour the canned venison into a saucepan.
- Add a splash of broth or water to keep the meat moist.
- Heat over medium heat, stirring occasionally, until warmed through.
Oven Method:
- Preheat your oven to 350°F (175°C).
- Transfer the venison to an oven-safe dish.
- Cover with foil to retain moisture.
- Bake for about 20-25 minutes, or until heated through.
Microwave Method:
- Place the venison in a microwave-safe bowl.
- Cover with a microwave-safe lid or plastic wrap with a small vent.
- Heat on medium power for 2-3 minutes, stirring halfway through.
Slow Cooker Method:
- Pour the venison into the slow cooker.
- Add a bit of broth or water to prevent drying out.
- Set on low and heat for 1-2 hours, or until thoroughly warmed.
Sauté Method:
- Heat a skillet over medium heat and add a small amount of olive oil or butter.
- Add the venison and sauté, stirring frequently, until heated through.
Gravy Method:
- Make a simple gravy using broth, flour, and butter.
- Add the venison to the gravy and simmer until heated through.
- Serve over mashed potatoes or rice for a comforting meal.
Essential Tools for Canning Venison
Canning jars: Used to store the venison cubes for the canning process.
Lids: Essential for sealing the canning jars to ensure the contents are preserved.
Pressure canner: Necessary for processing the jars at the required pressure to safely can the venison.
Jar lifter: Helps in safely removing hot jars from the pressure canner.
Boiling water: Used to pour over the venison cubes in the jars to maintain the headspace.
Clean, damp cloth: Used to wipe the rims of the jars to ensure a clean seal.
Measuring spoons: Used to measure the salt and pepper accurately.
Knife: Used to cut the venison into cubes.
Cutting board: Provides a safe surface for cutting the venison.
Air bubble remover tool: Helps in removing air bubbles from the jars to ensure proper headspace.
Tongs: Useful for handling hot lids and other items during the canning process.
How to Save Time on This Recipe
Prepare ingredients in advance: Cut the venison into cubes and measure out the salt and pepper the night before.
Use a jar funnel: This helps to pack the venison into jars quickly and cleanly, reducing mess and saving time.
Boil water ahead: Have your boiling water ready before you start packing the jars to streamline the process.
Sterilize efficiently: Sterilize jars and lids while you prepare the venison to multitask and save time.
Organize your workspace: Keep all your tools and ingredients within reach to avoid unnecessary steps.
Canned Venison Recipe
Ingredients
Main Ingredients
- 2 lbs Venison cut into cubes
- 1 teaspoon Salt
- 1 teaspoon Black Pepper ground
- 2 cups Water
Instructions
- 1. Sterilize the canning jars and lids.
- 2. Pack the venison cubes into the jars, leaving 1-inch headspace.
- 3. Add salt and pepper to each jar.
- 4. Pour boiling water over the meat, maintaining the 1-inch headspace.
- 5. Remove air bubbles and adjust headspace if necessary.
- 6. Wipe the rims of the jars with a clean, damp cloth and place the lids on.
- 7. Process the jars in a pressure canner at 10 pounds pressure for 90 minutes.
- 8. Allow the canner to cool naturally, then remove the jars and let them cool completely.
- 9. Check the seals before storing the jars in a cool, dark place.
Nutritional Value
Keywords
Suggested Appetizers and Desserts
More Amazing Recipes to Try 🙂
- Pizzelle Recipe45 Minutes
- Mediterranean Chicken Marinade Recipe30 Minutes
- Vegan Banana Muffins Recipe30 Minutes
- Slow Cooker Sauerkraut and Sausage Recipe8 Hours 10 Minutes
- Blackberry Tart Recipe1 Hours
- Lemon Herb Couscous Recipe20 Minutes
- Caramelized French Toast Recipe25 Minutes
- Breakfast Pies Recipe35 Minutes
Leave a Reply