
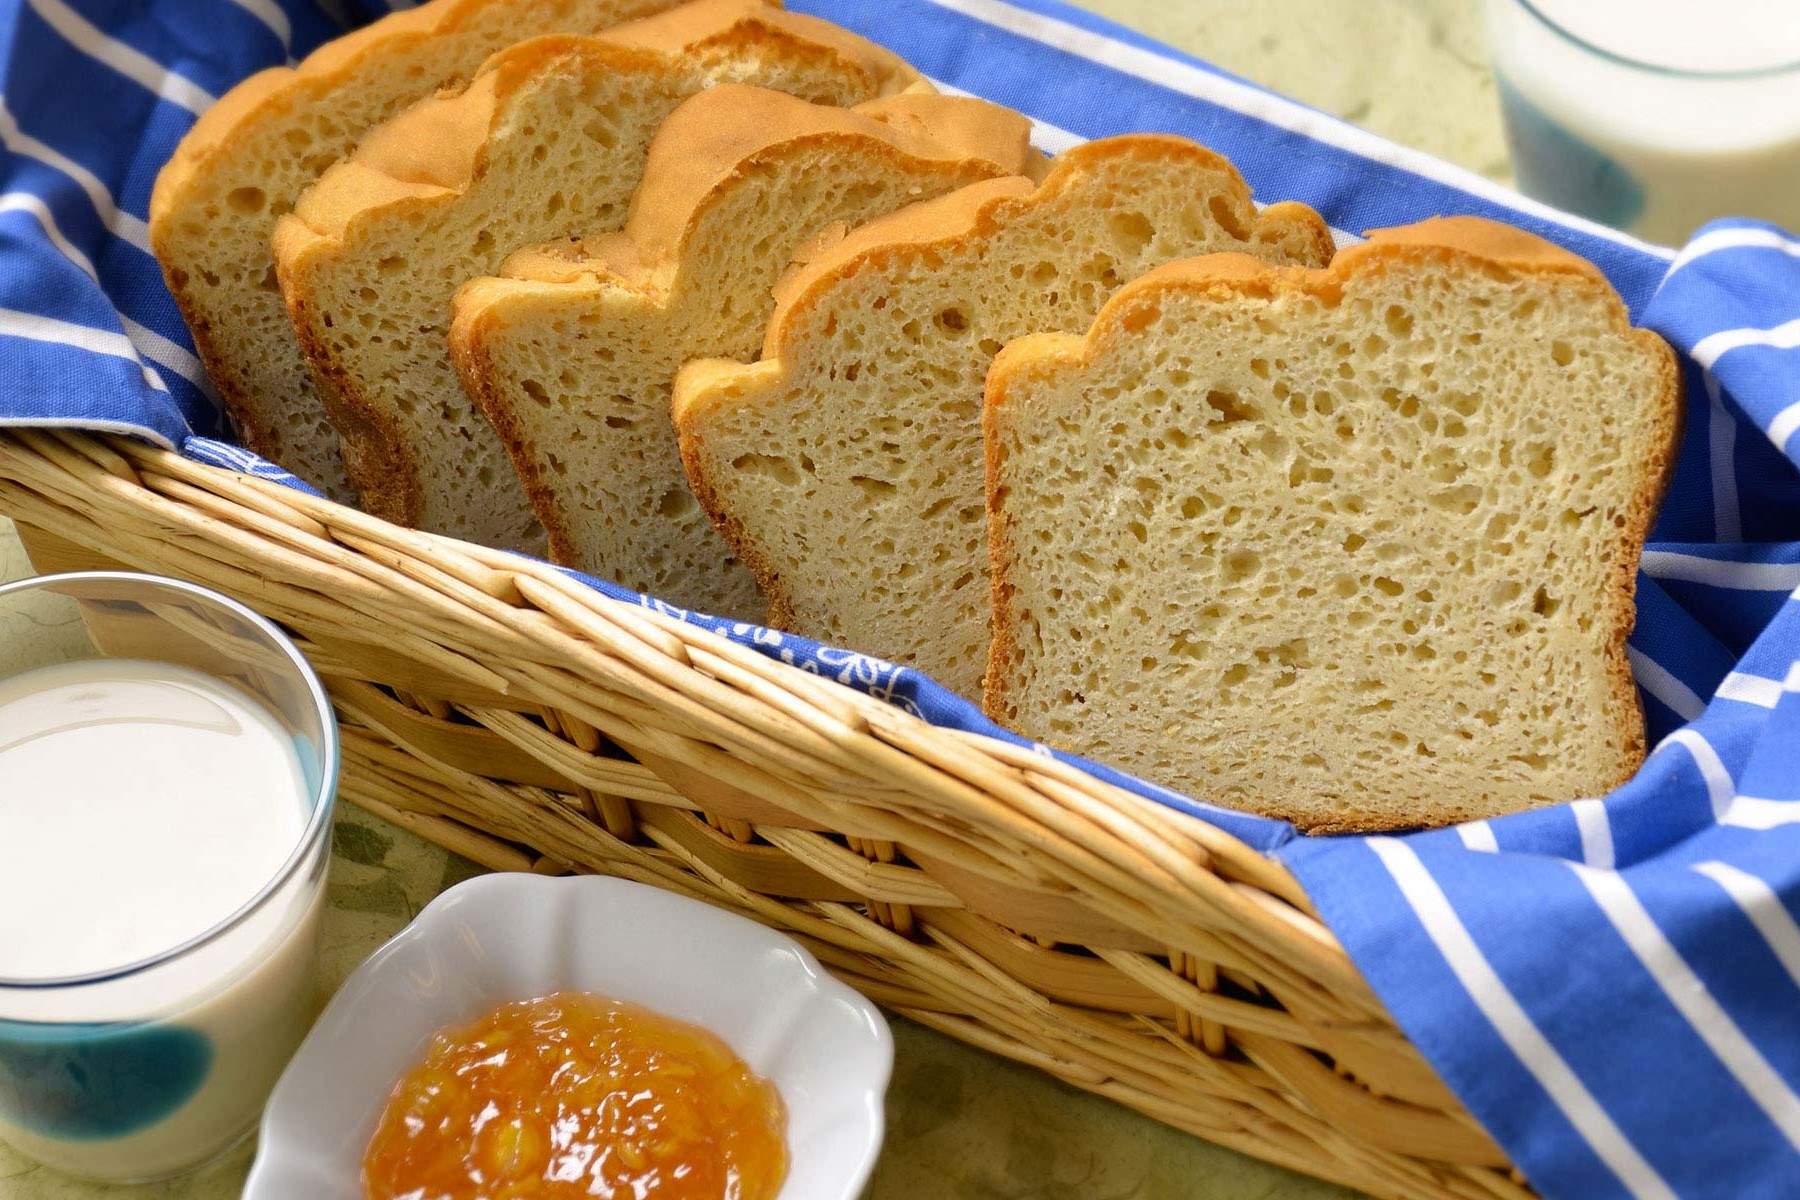
Creating a delicious loaf of gluten-free bread at home has never been easier with this bread machine recipe. Perfect for those with gluten sensitivities or anyone looking to try something new, this recipe yields a soft, flavorful bread that rivals any store-bought version. With a few simple ingredients and your trusty bread machine, you'll have a fresh loaf ready in no time.
Some ingredients in this recipe might not be commonly found in every household. For instance, gluten-free all-purpose flour and gluten-free oat flour are essential for maintaining the gluten-free integrity of the bread. Additionally, tapioca starch and xanthan gum are crucial for achieving the right texture and structure. These items can usually be found in the health food or baking aisle of most supermarkets.
Ingredients for Gluten-Free Bread Machine Recipe
Warm water: Used to activate the yeast and create the dough.
Olive oil: Adds moisture and richness to the bread.
Honey: Provides sweetness and helps with yeast activation.
Eggs: Contribute to the structure and moisture of the bread.
Gluten-free all-purpose flour: The main flour base for the bread, ensuring it is gluten-free.
Gluten-free oat flour: Adds a mild, nutty flavor and additional texture.
Tapioca starch: Helps to bind the ingredients and gives the bread a chewy texture.
Xanthan gum: Acts as a stabilizer and thickener, providing elasticity and structure.
Salt: Enhances the flavor of the bread.
Active dry yeast: The leavening agent that helps the bread rise.
Technique Tip for This Recipe
When adding yeast to the bread machine, ensure that the water is warm but not hot, ideally between 105°F and 115°F. This temperature range activates the yeast without killing it, ensuring a good rise. Additionally, make sure the eggs are at room temperature to prevent them from cooling down the mixture, which can affect the yeast activity.
Suggested Side Dishes
Alternative Ingredients
warm water - Substitute with warm almond milk: Adds a slightly nutty flavor and keeps the bread moist.
olive oil - Substitute with coconut oil: Provides a subtle sweetness and helps with the texture.
honey - Substitute with maple syrup: Offers a different kind of sweetness and is vegan-friendly.
room temperature eggs - Substitute with flax eggs: Mix 1 tablespoon ground flaxseed with 3 tablespoon water per egg; this is a good vegan alternative that helps bind the ingredients.
gluten-free all-purpose flour - Substitute with rice flour: A common gluten-free flour that provides a similar texture.
gluten-free oat flour - Substitute with almond flour: Adds a nutty flavor and is also gluten-free.
tapioca starch - Substitute with arrowroot powder: Works similarly as a thickening agent and helps with the texture.
xanthan gum - Substitute with guar gum: Another gluten-free binding agent that helps with the elasticity of the dough.
salt - Substitute with sea salt: Provides a slightly different mineral content and flavor.
active dry yeast - Substitute with instant yeast: Can be used in the same quantity and doesn't require proofing.
Other Alternative Recipes Similar to This Bread
How to Store / Freeze Your Bread
Allow the gluten-free bread to cool completely on a wire rack before storing. This prevents condensation from forming inside the storage container, which can make the bread soggy.
For short-term storage, place the cooled bread in an airtight container or a resealable plastic bag. Store at room temperature for up to 3 days. If you live in a humid climate, consider storing the bread in the refrigerator to extend its freshness.
For longer storage, slice the bread before freezing. This allows you to easily grab a slice or two without having to thaw the entire loaf.
Wrap each slice or the entire loaf tightly in plastic wrap. Then, place the wrapped bread in a resealable freezer bag or an airtight container. This double-layer protection helps prevent freezer burn and maintains the bread's texture.
Label the bag or container with the date to keep track of how long the bread has been stored. Gluten-free bread can be frozen for up to 3 months.
When you're ready to enjoy the bread, remove the desired number of slices from the freezer. Thaw at room temperature or toast directly from frozen. For a softer texture, you can also microwave the slices for a few seconds.
If you prefer to thaw the entire loaf, leave it in its wrapping and let it thaw at room temperature for several hours or overnight. Once thawed, store the bread in an airtight container or resealable bag at room temperature and consume within a few days.
To refresh the texture of thawed bread, consider warming it in the oven at 350°F (175°C) for about 10 minutes. This can help restore some of the bread's original softness and crustiness.
For an extra treat, consider making gluten-free bread croutons or breadcrumbs with any leftover slices. Simply cube the bread, toss with a bit of olive oil and your favorite seasonings, and bake until crispy. Store the croutons in an airtight container for up to a week or freeze for longer storage.
How to Reheat Leftovers
Preheat your oven to 350°F (175°C). Wrap the gluten-free bread in aluminum foil to prevent it from drying out. Place it on the middle rack and heat for about 10-15 minutes, or until warmed through.
For a quicker method, use a microwave. Place a slice of bread on a microwave-safe plate and cover it with a damp paper towel. Microwave on medium power for 20-30 seconds. Check and add more time if necessary, but be cautious to avoid making it too chewy.
If you prefer a toaster, slice the bread and toast it on a low setting. This method works well for achieving a slightly crispy texture while warming the inside.
For a stovetop method, heat a non-stick skillet over medium heat. Place the slices of bread in the skillet and cover with a lid. Heat for 2-3 minutes on each side, or until warmed through and slightly crispy.
If you have an air fryer, preheat it to 320°F (160°C). Place the slices of bread in the basket and heat for 3-5 minutes. This method will give you a nice, crispy exterior while keeping the inside soft.
Best Tools for This Recipe
Bread machine: This is the primary tool for making the gluten-free bread. It mixes, kneads, and bakes the dough automatically.
Bread machine pan: This is the container where all the ingredients are placed and mixed. It fits inside the bread machine.
Measuring cups: These are used to measure the warm water, gluten-free all-purpose flour, and gluten-free oat flour accurately.
Measuring spoons: These are essential for measuring smaller quantities of ingredients like olive oil, honey, tapioca starch, xanthan gum, salt, and active dry yeast.
Mixing bowl: This is used to mix the dry ingredients together before adding them to the bread machine pan.
Wire rack: This is used to cool the bread once it is done baking, allowing air to circulate around the bread to prevent it from becoming soggy.
Spatula: This can be used to help remove the bread from the bread machine pan without damaging it.
Whisk: This is useful for beating the eggs before adding them to the bread machine pan to ensure they are well mixed.
How to Save Time on Making This Bread
Measure ingredients in advance: Pre-measure all ingredients and store them in separate containers to streamline the process.
Use room temperature eggs: Ensure eggs are at room temperature for better mixing and rising.
Pre-mix dry ingredients: Combine all dry ingredients in a bowl ahead of time to save a step.
Warm water ready: Have warm water ready to go to avoid waiting.
Quick yeast activation: Use active dry yeast for faster activation and better rise.
Gluten-Free Bread Machine Recipe
Ingredients
Main Ingredients
- 1 ½ cups warm water
- 3 tablespoon olive oil
- 2 tablespoon honey
- 3 pcs eggs room temperature
- 2 cups gluten-free all-purpose flour
- 1 cup gluten-free oat flour
- ¼ cup tapioca starch
- 1 tablespoon xanthan gum
- 1 teaspoon salt
- 1 tablespoon active dry yeast
Instructions
- Add warm water, olive oil, honey, and eggs to the bread machine pan.
- In a separate bowl, mix together the gluten-free all-purpose flour, gluten-free oat flour, tapioca starch, xanthan gum, and salt.
- Add the dry ingredients to the bread machine pan.
- Make a small well in the center of the dry ingredients and add the yeast.
- Select the gluten-free setting on your bread machine and start.
- Once the bread is done, remove it from the pan and let it cool on a wire rack before slicing.
Nutritional Value
Keywords
More Amazing Recipes to Try 🙂
- Avocado and Egg Breakfast Sandwich Recipe10 Minutes
- Pinto Bean Taco Recipe25 Minutes
- Slow Cooker Barbequed Beef Ribs Recipe8 Hours 15 Minutes
- Za'atar Bread Recipe35 Minutes
- St Louis Pork Steaks Recipe1 Hours
- Chicken Fettuccine Recipe35 Minutes
- Lemon Poppy Seed Doughnuts Recipe35 Minutes
- Lobster Thermidor Recipe50 Minutes
Leave a Reply