
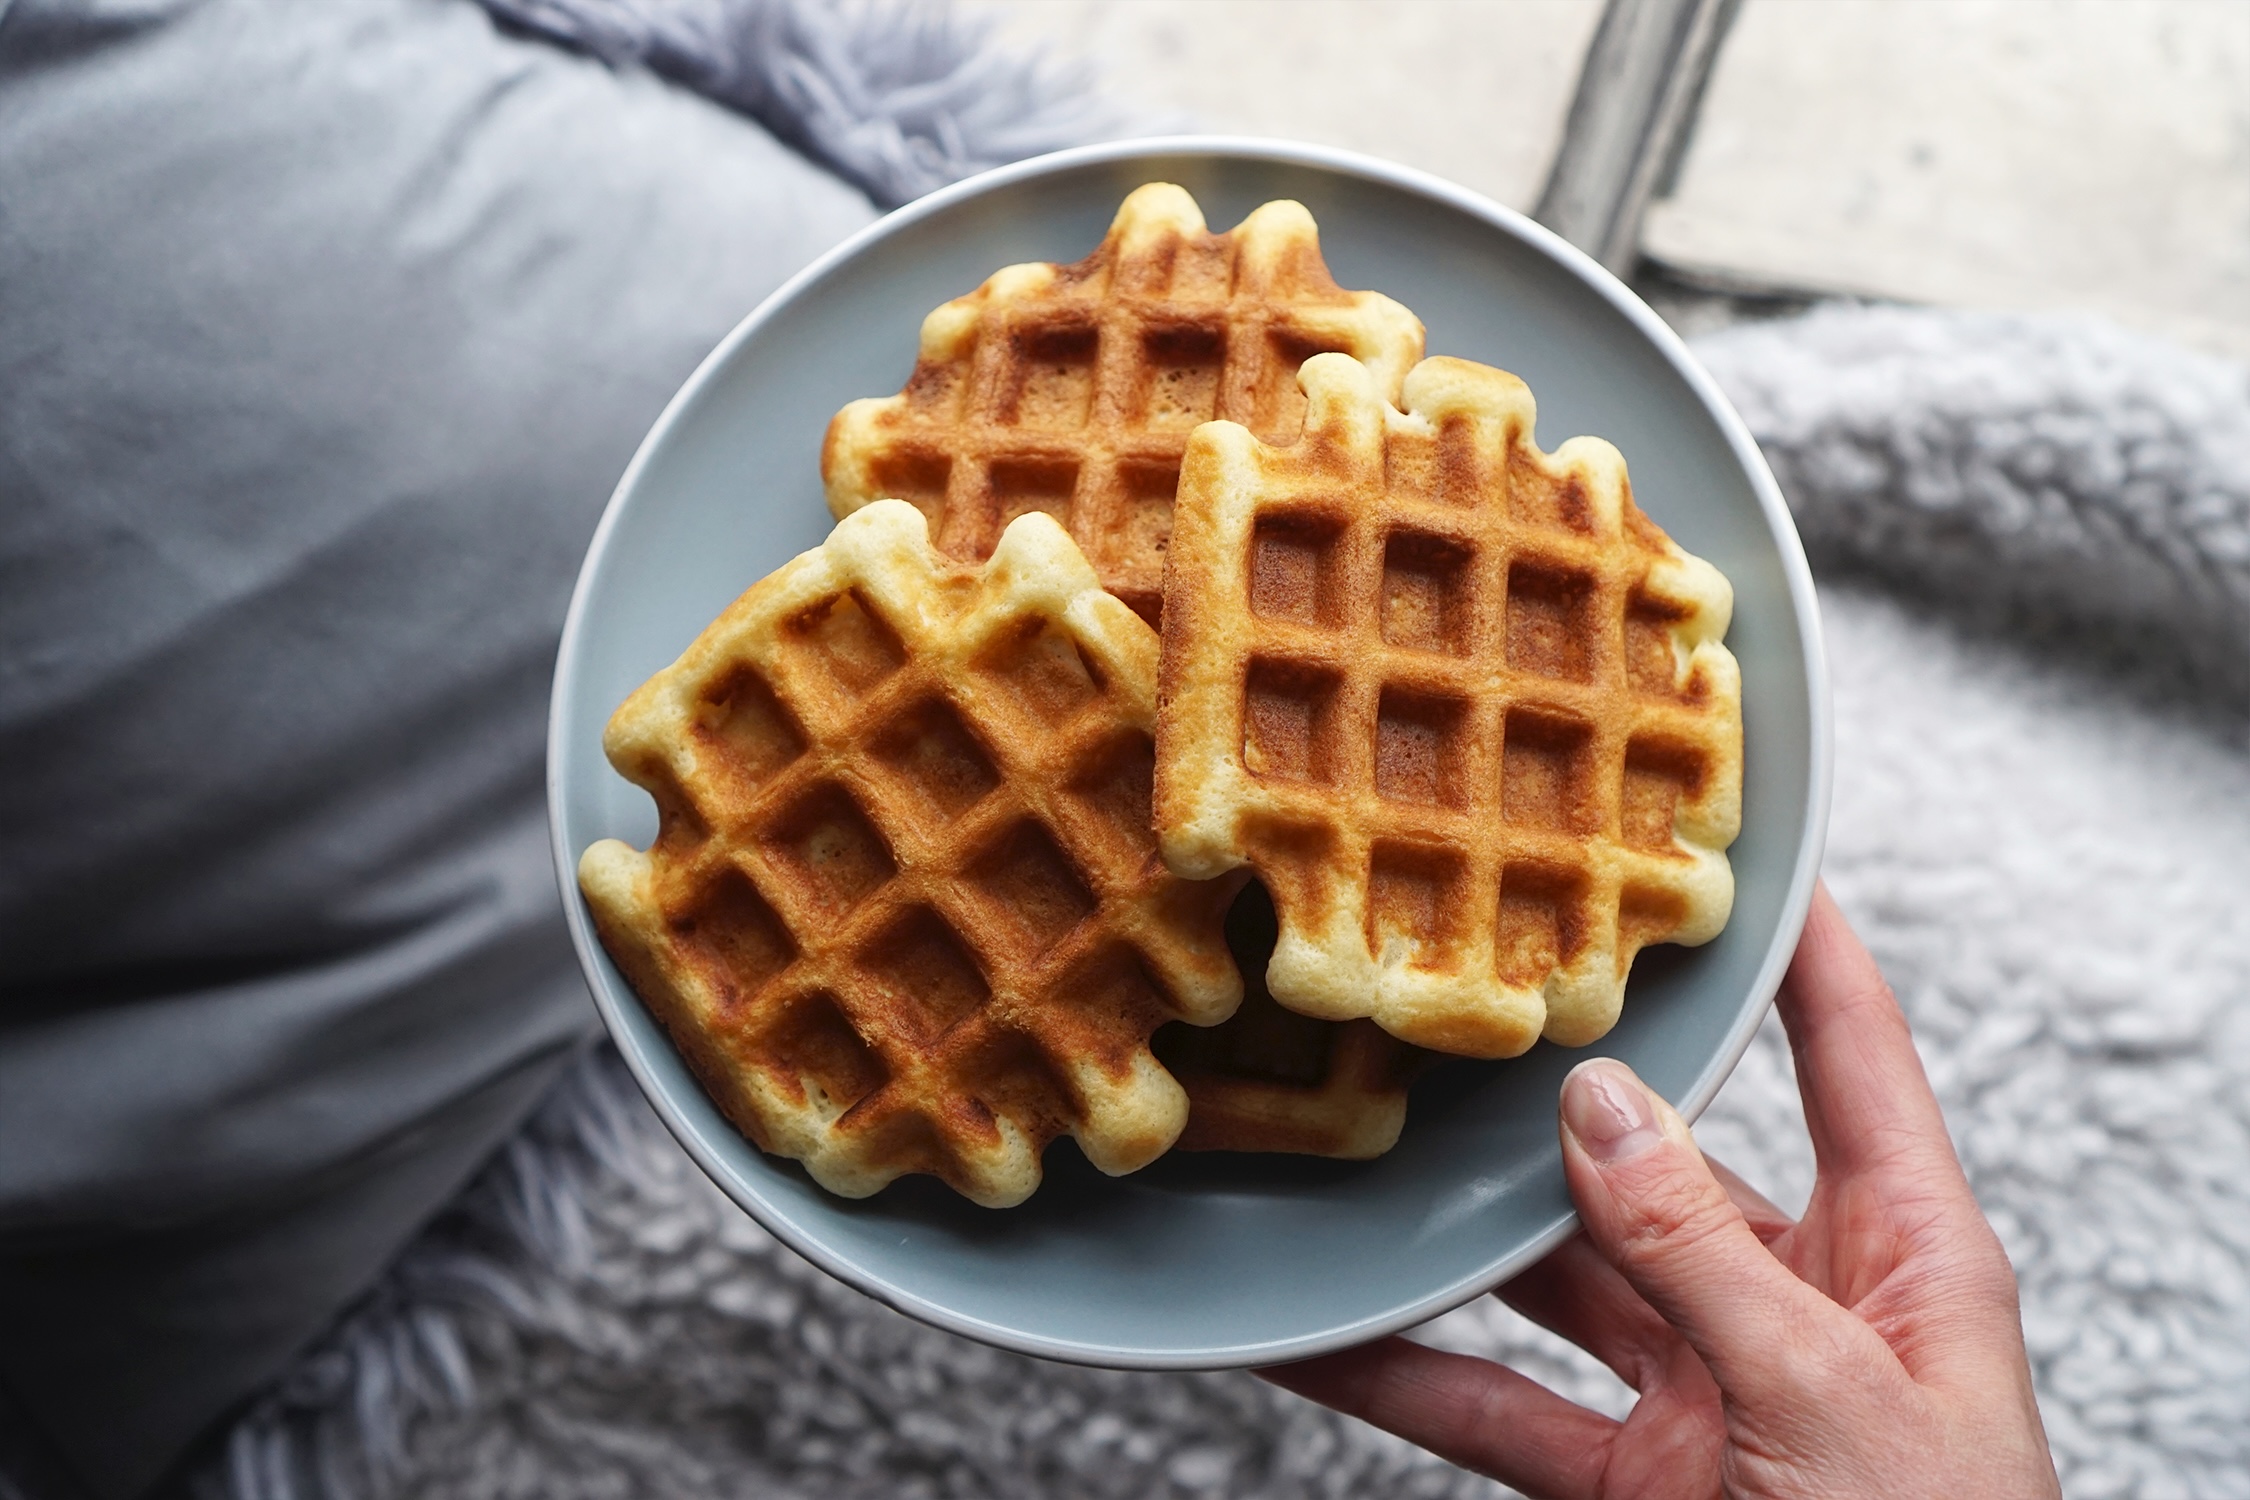
Indulge in a delightful breakfast experience with these gluten-free waffles. Perfectly crisp on the outside and fluffy on the inside, these waffles are a fantastic way to start your day. Whether you have a gluten intolerance or simply want to try something new, this recipe is sure to become a favorite in your household.
When preparing this recipe, you might need to pay special attention to the gluten-free flour. Unlike regular flour, gluten-free flour can vary in texture and composition, so it's important to choose a high-quality blend. Additionally, ensure you have vanilla extract on hand, as it adds a wonderful depth of flavor to the waffles.
Ingredients For Gluten-Free Waffles Recipe
Gluten-free flour: A special blend of flours that do not contain gluten, essential for those with gluten intolerance.
Sugar: Adds sweetness to the waffles and helps with browning.
Baking powder: A leavening agent that helps the waffles rise and become fluffy.
Salt: Enhances the flavor of the waffles.
Milk: Provides moisture and richness to the batter.
Eggs: Bind the ingredients together and add structure to the waffles.
Melted butter: Adds richness and helps create a crisp exterior.
Vanilla extract: Adds a lovely aroma and flavor to the waffles.
Technique Tip for This Recipe
To ensure your waffles come out perfectly crispy on the outside and fluffy on the inside, make sure not to overmix the batter. Overmixing can lead to tough waffles. Stir the wet ingredients into the dry ingredients just until combined, leaving some small lumps in the batter. This will help maintain the light and airy texture that makes waffles so delightful.
Suggested Side Dishes
Alternative Ingredients
gluten-free flour - Substitute with almond flour: Almond flour provides a nutty flavor and is naturally gluten-free, making it a great alternative.
sugar - Substitute with honey: Honey adds natural sweetness and moisture to the waffles, and it is a healthier option.
baking powder - Substitute with baking soda and cream of tartar: Mixing ¼ teaspoon baking soda with ½ teaspoon cream of tartar can mimic the leavening effect of baking powder.
salt - Substitute with sea salt: Sea salt can be used in the same quantity and provides a slightly different mineral profile.
milk - Substitute with almond milk: Almond milk is a dairy-free option that works well in waffle batter, maintaining the same consistency.
beaten eggs - Substitute with flax eggs: Mix 1 tablespoon ground flaxseed with 2.5 tablespoon water per egg and let it sit to thicken. This is a vegan alternative that helps bind the ingredients.
melted butter - Substitute with coconut oil: Coconut oil is a dairy-free option that adds a subtle coconut flavor and works well in waffle recipes.
vanilla extract - Substitute with almond extract: Almond extract provides a different but pleasant flavor profile that complements the other ingredients.
Other Alternative Recipes Similar to This
How To Store / Freeze Your Waffles
Allow the waffles to cool completely on a wire rack. This prevents them from becoming soggy when stored.
For short-term storage, place the cooled waffles in an airtight container or a resealable plastic bag. Keep them in the refrigerator for up to 3 days.
For longer storage, lay the waffles in a single layer on a baking sheet and place them in the freezer. Once they are frozen solid, transfer them to a resealable freezer bag or an airtight container. They can be stored in the freezer for up to 3 months.
To reheat refrigerated waffles, use a toaster or toaster oven. This will help them regain their crispiness. Heat them on a medium setting until they are warm and crispy.
For frozen waffles, you can either let them thaw in the refrigerator overnight or reheat them directly from the freezer. Use a toaster, toaster oven, or conventional oven preheated to 350°F (175°C). Heat for about 5-10 minutes or until they are warm and crispy.
If you prefer a microwave, place the waffles on a microwave-safe plate and cover them with a damp paper towel. Microwave on high for 20-30 seconds for refrigerated waffles or 1-2 minutes for frozen waffles. Note that microwaving may result in a softer texture.
For an extra touch, consider reheating the waffles in a skillet with a small amount of butter or oil. This will give them a delightful, crispy exterior.
Always label your storage containers or bags with the date to keep track of their freshness.
How To Reheat Leftovers
Oven Method: Preheat your oven to 350°F (175°C). Place the leftover waffles on a baking sheet in a single layer. Cover them loosely with aluminum foil to prevent them from drying out. Bake for about 10 minutes or until they are heated through and crispy.
Toaster Method: This is one of the quickest ways to reheat waffles. Simply pop them into your toaster and toast on a medium setting until they are warm and crispy. This method works best if the waffles are not too thick.
Microwave Method: Place the waffles on a microwave-safe plate. Cover them with a damp paper towel to keep them from drying out. Microwave on high for about 30-60 seconds, checking halfway through to ensure they are heating evenly. Note that this method may not keep the waffles as crispy as other methods.
Air Fryer Method: Preheat your air fryer to 350°F (175°C). Place the waffles in the air fryer basket in a single layer. Heat for about 3-5 minutes or until they are warm and crispy. This method is great for maintaining the waffles' texture.
Stovetop Method: Heat a non-stick skillet over medium heat. Add a small amount of butter or oil to the skillet. Place the waffles in the skillet and heat for about 2-3 minutes on each side until they are warm and crispy. This method adds a nice, buttery flavor to the waffles.
Best Tools for This Recipe
Waffle iron: This is essential for cooking the waffle batter into perfectly shaped waffles.
Large bowl: Used for mixing the dry ingredients together.
Another bowl: Used for mixing the wet ingredients together.
Whisk: Helps in combining the dry ingredients and also in mixing the wet ingredients thoroughly.
Measuring cups: Necessary for accurately measuring the gluten-free flour, milk, and melted butter.
Measuring spoons: Used for measuring smaller quantities like sugar, baking powder, salt, and vanilla extract.
Spatula: Useful for folding the wet and dry ingredients together without over-mixing.
Ladle or measuring cup: Helps in pouring the batter onto the preheated waffle iron evenly.
Cooling rack: Allows the waffles to cool slightly without becoming soggy.
Serving plate: For presenting the warm waffles with your favorite toppings.
How to Save Time on Making Waffles
Pre-mix dry ingredients: Combine gluten-free flour, sugar, baking powder, and salt in advance and store in an airtight container.
Use a blender: Blend the milk, eggs, melted butter, and vanilla extract together for a smoother batter.
Preheat waffle iron early: Turn on your waffle iron before starting to mix ingredients to save waiting time.
Batch cook and freeze: Make extra waffles and freeze them. Reheat in a toaster for a quick breakfast.
Measure ingredients accurately: Use measuring cups and spoons to ensure consistency and reduce preparation time.
Gluten-Free Waffles Recipe
Ingredients
Main Ingredients
- 1 cup Gluten-free flour
- 1 tablespoon Sugar
- 1 teaspoon Baking powder
- ½ teaspoon Salt
- 1 cup Milk
- 2 Eggs beaten
- ¼ cup Butter melted
- 1 teaspoon Vanilla extract
Instructions
- Preheat your waffle iron.
- In a large bowl, whisk together the gluten-free flour, sugar, baking powder, and salt.
- In another bowl, mix the milk, eggs, melted butter, and vanilla extract.
- Pour the wet ingredients into the dry ingredients and stir until just combined.
- Pour the batter onto the preheated waffle iron and cook according to the manufacturer's instructions.
- Serve warm with your favorite toppings.
Nutritional Value
Keywords
More Amazing Recipes to Try 🙂
- Turkish Chicken Kebabs Recipe35 Minutes
- Pizzelle Recipe45 Minutes
- Mediterranean Chicken Marinade Recipe30 Minutes
- Vegan Banana Muffins Recipe30 Minutes
- Slow Cooker Sauerkraut and Sausage Recipe8 Hours 10 Minutes
- Blackberry Tart Recipe1 Hours
- Lemon Herb Couscous Recipe20 Minutes
- Caramelized French Toast Recipe25 Minutes
Leave a Reply